


One of our favorite things to do when shooting or preparing for a shoot is to think out of the box. We had the wonderful opportunity to travel to North Carolina for our cousin's wedding, so we decided that we could try something that we had never tried before because we were with family and they would still love us if it was a disaster or not. Haha. So we ordered some smoke bombs of various colors and waited until it got dark to start shooting.
Some of the essential things we needed were a camera, light, light holder (our cousin Kristen who is a professional now), amazing dancers, and a smoke bomb holder. We decided to have Mike hold the smoke bomb the first time while Ali filmed. Mike was able to move the smoke bomb back and forth in order to fill the entire space with the smoke. The space that we used was outside by a tree with a stack of wood behind us (you can see from the picture below).

Kristen is now a professional Lighting Guru!
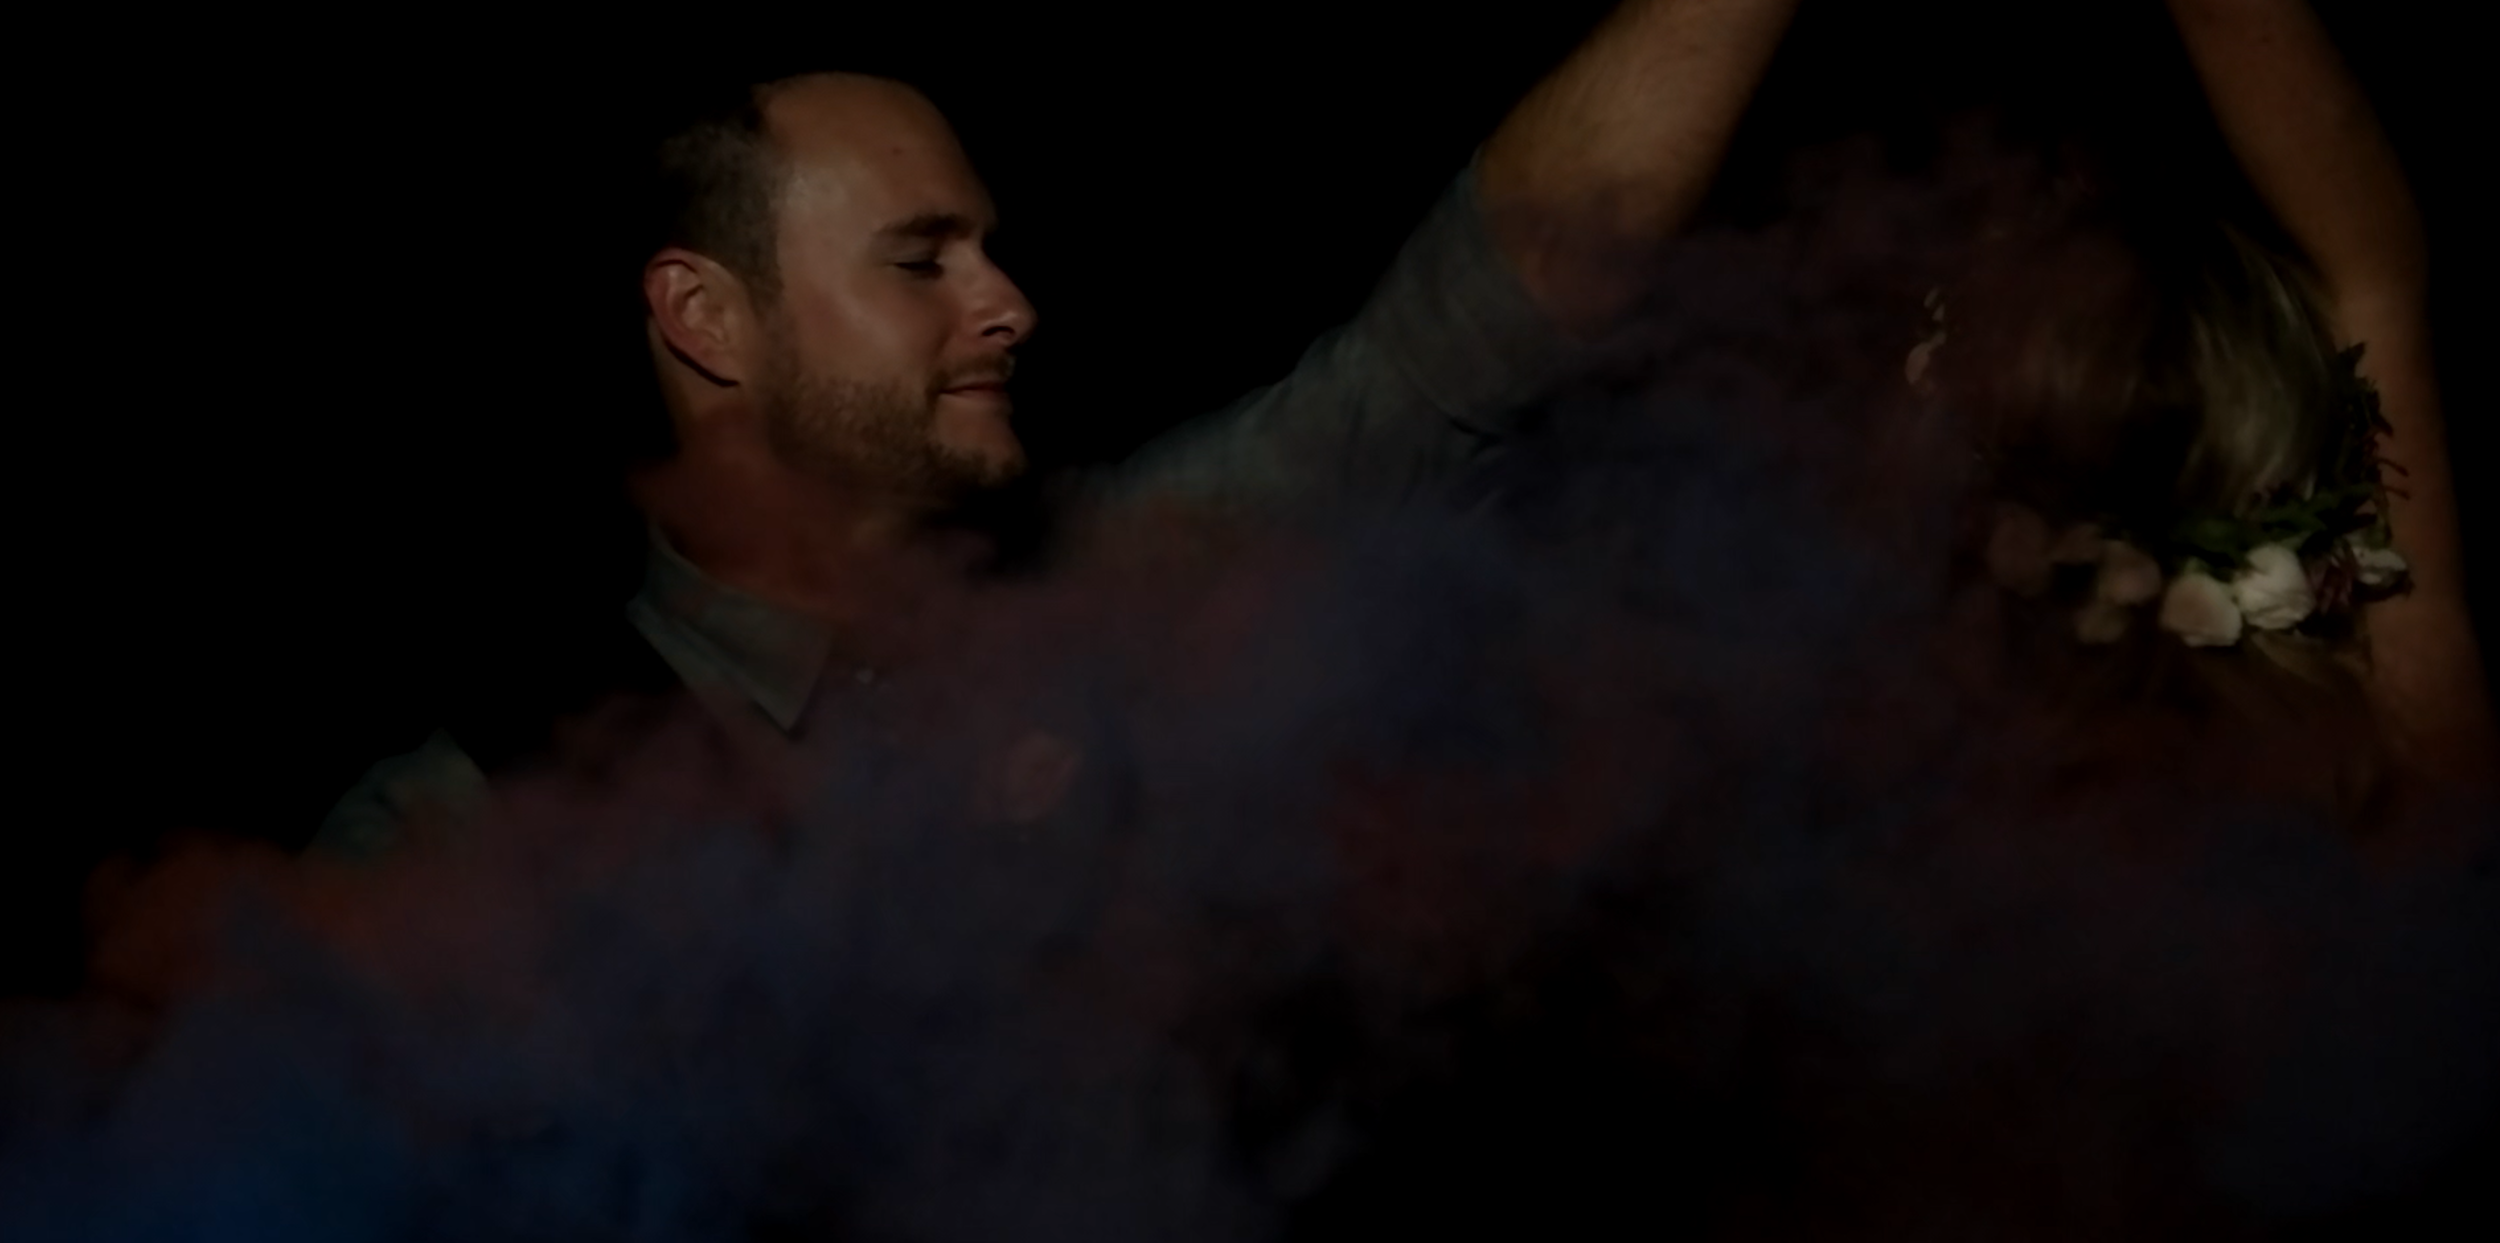
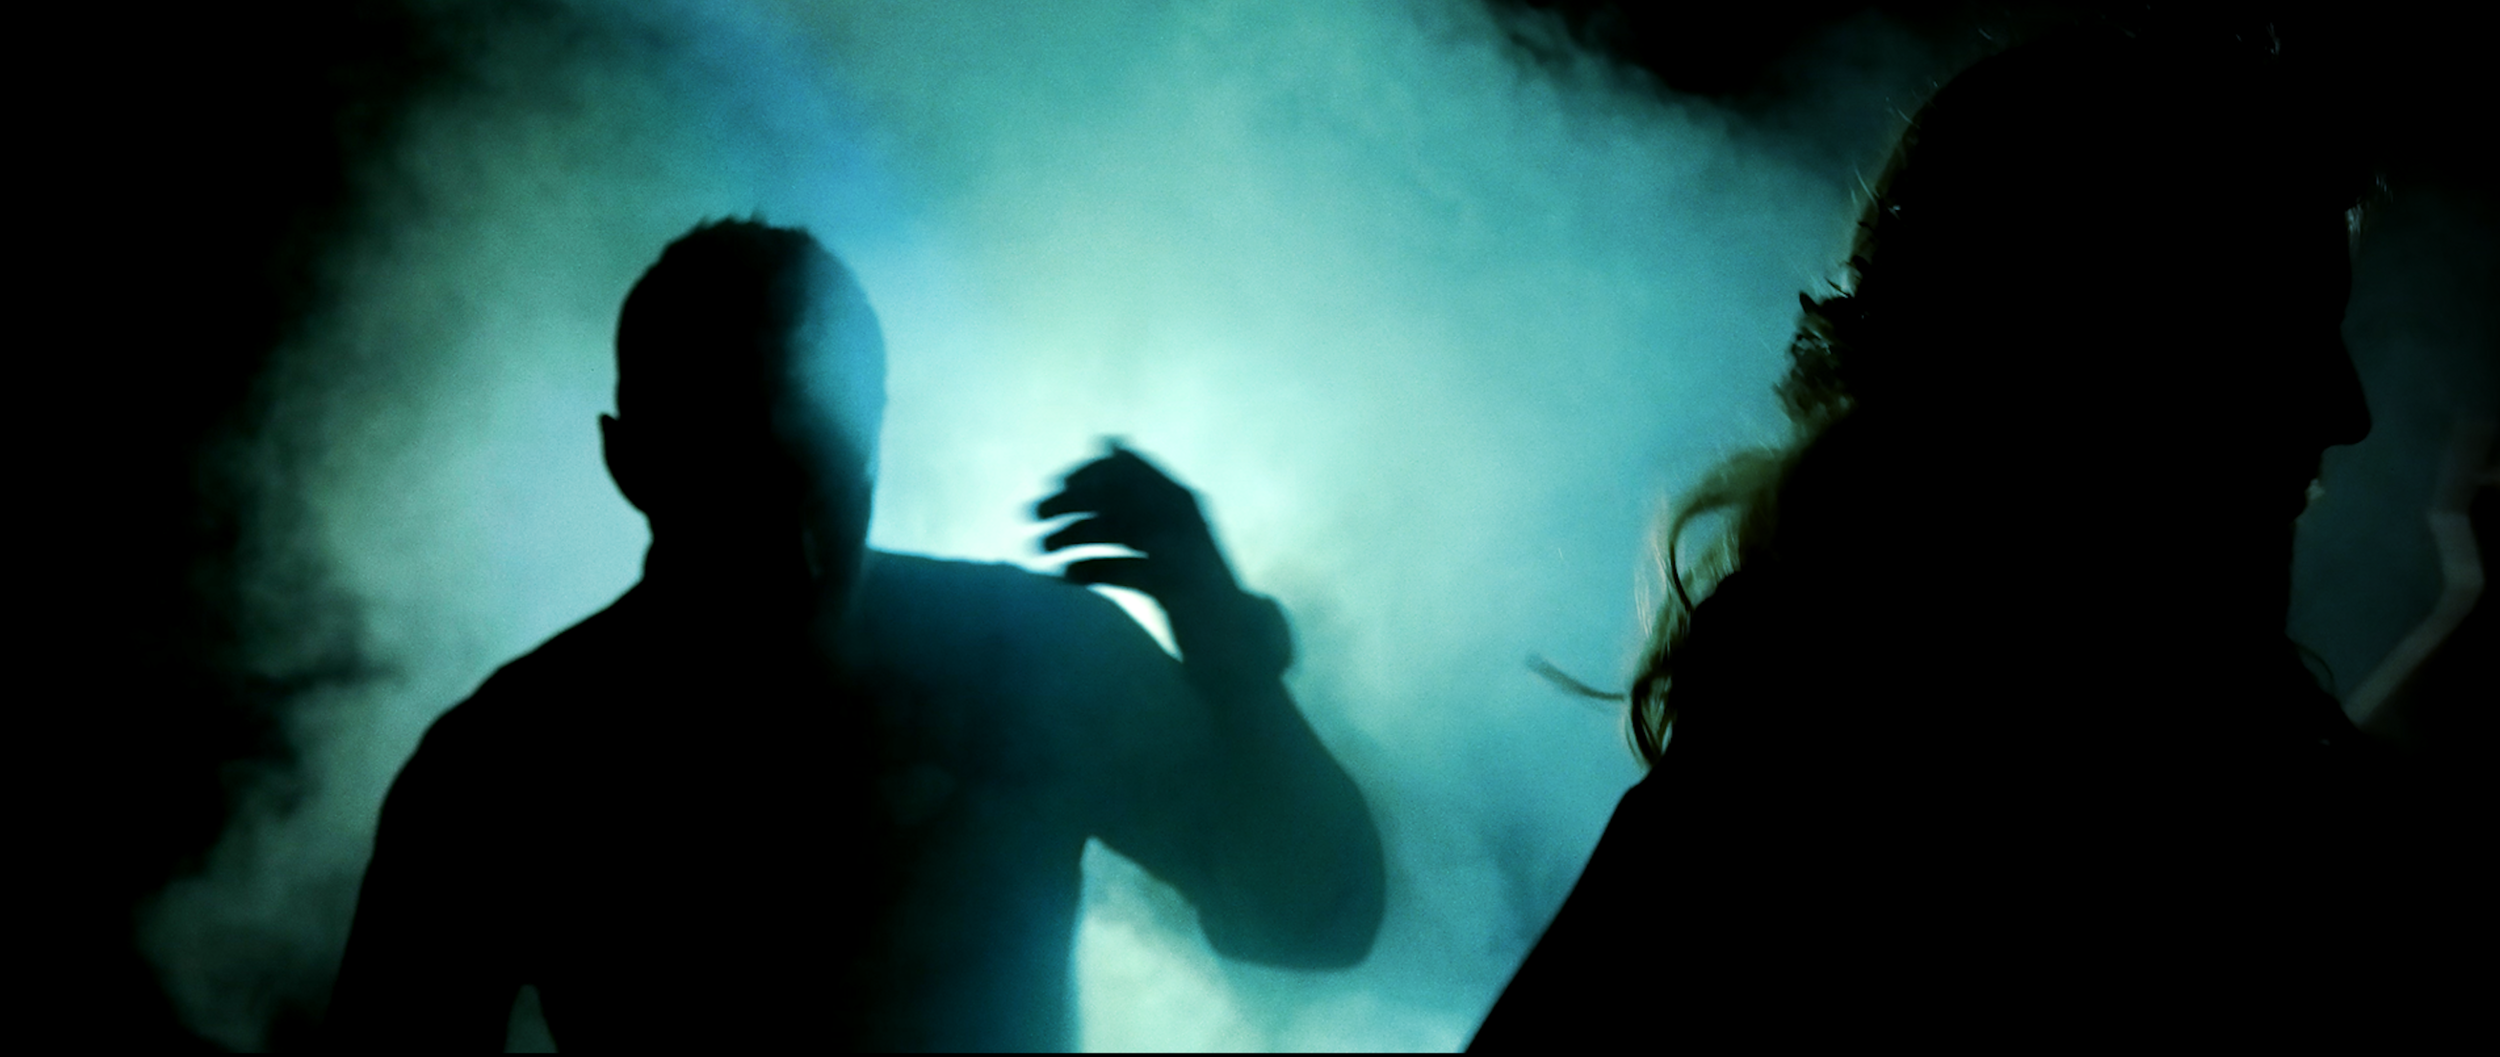
Here are some of the nitty-gritty, camera detail stuff that we used. We decided to put the light directly behind Alyssa and Stephen to get the silhouette effect. To capture this effect with our camera we had to make sure we were exposed for our highlights, meaning that we didn't want to have the frame so bright that we would lose the contrast in the light. We told Alyssa and Stephen to start dancing and they did it like pros! They spun each other around, kissed a couple times, and came up with amazing dance moves!
After we did a couple shots where we held the smoke bombs, we decided to give the smoke bombs to Alyssa and Stephen to hold and do whatever they wanted with them. It turned out so fun! It helped because we were just down the hill from the reception where we could still hear the music, so it was easy to dance to something instead of making up a song in your head. Haha.
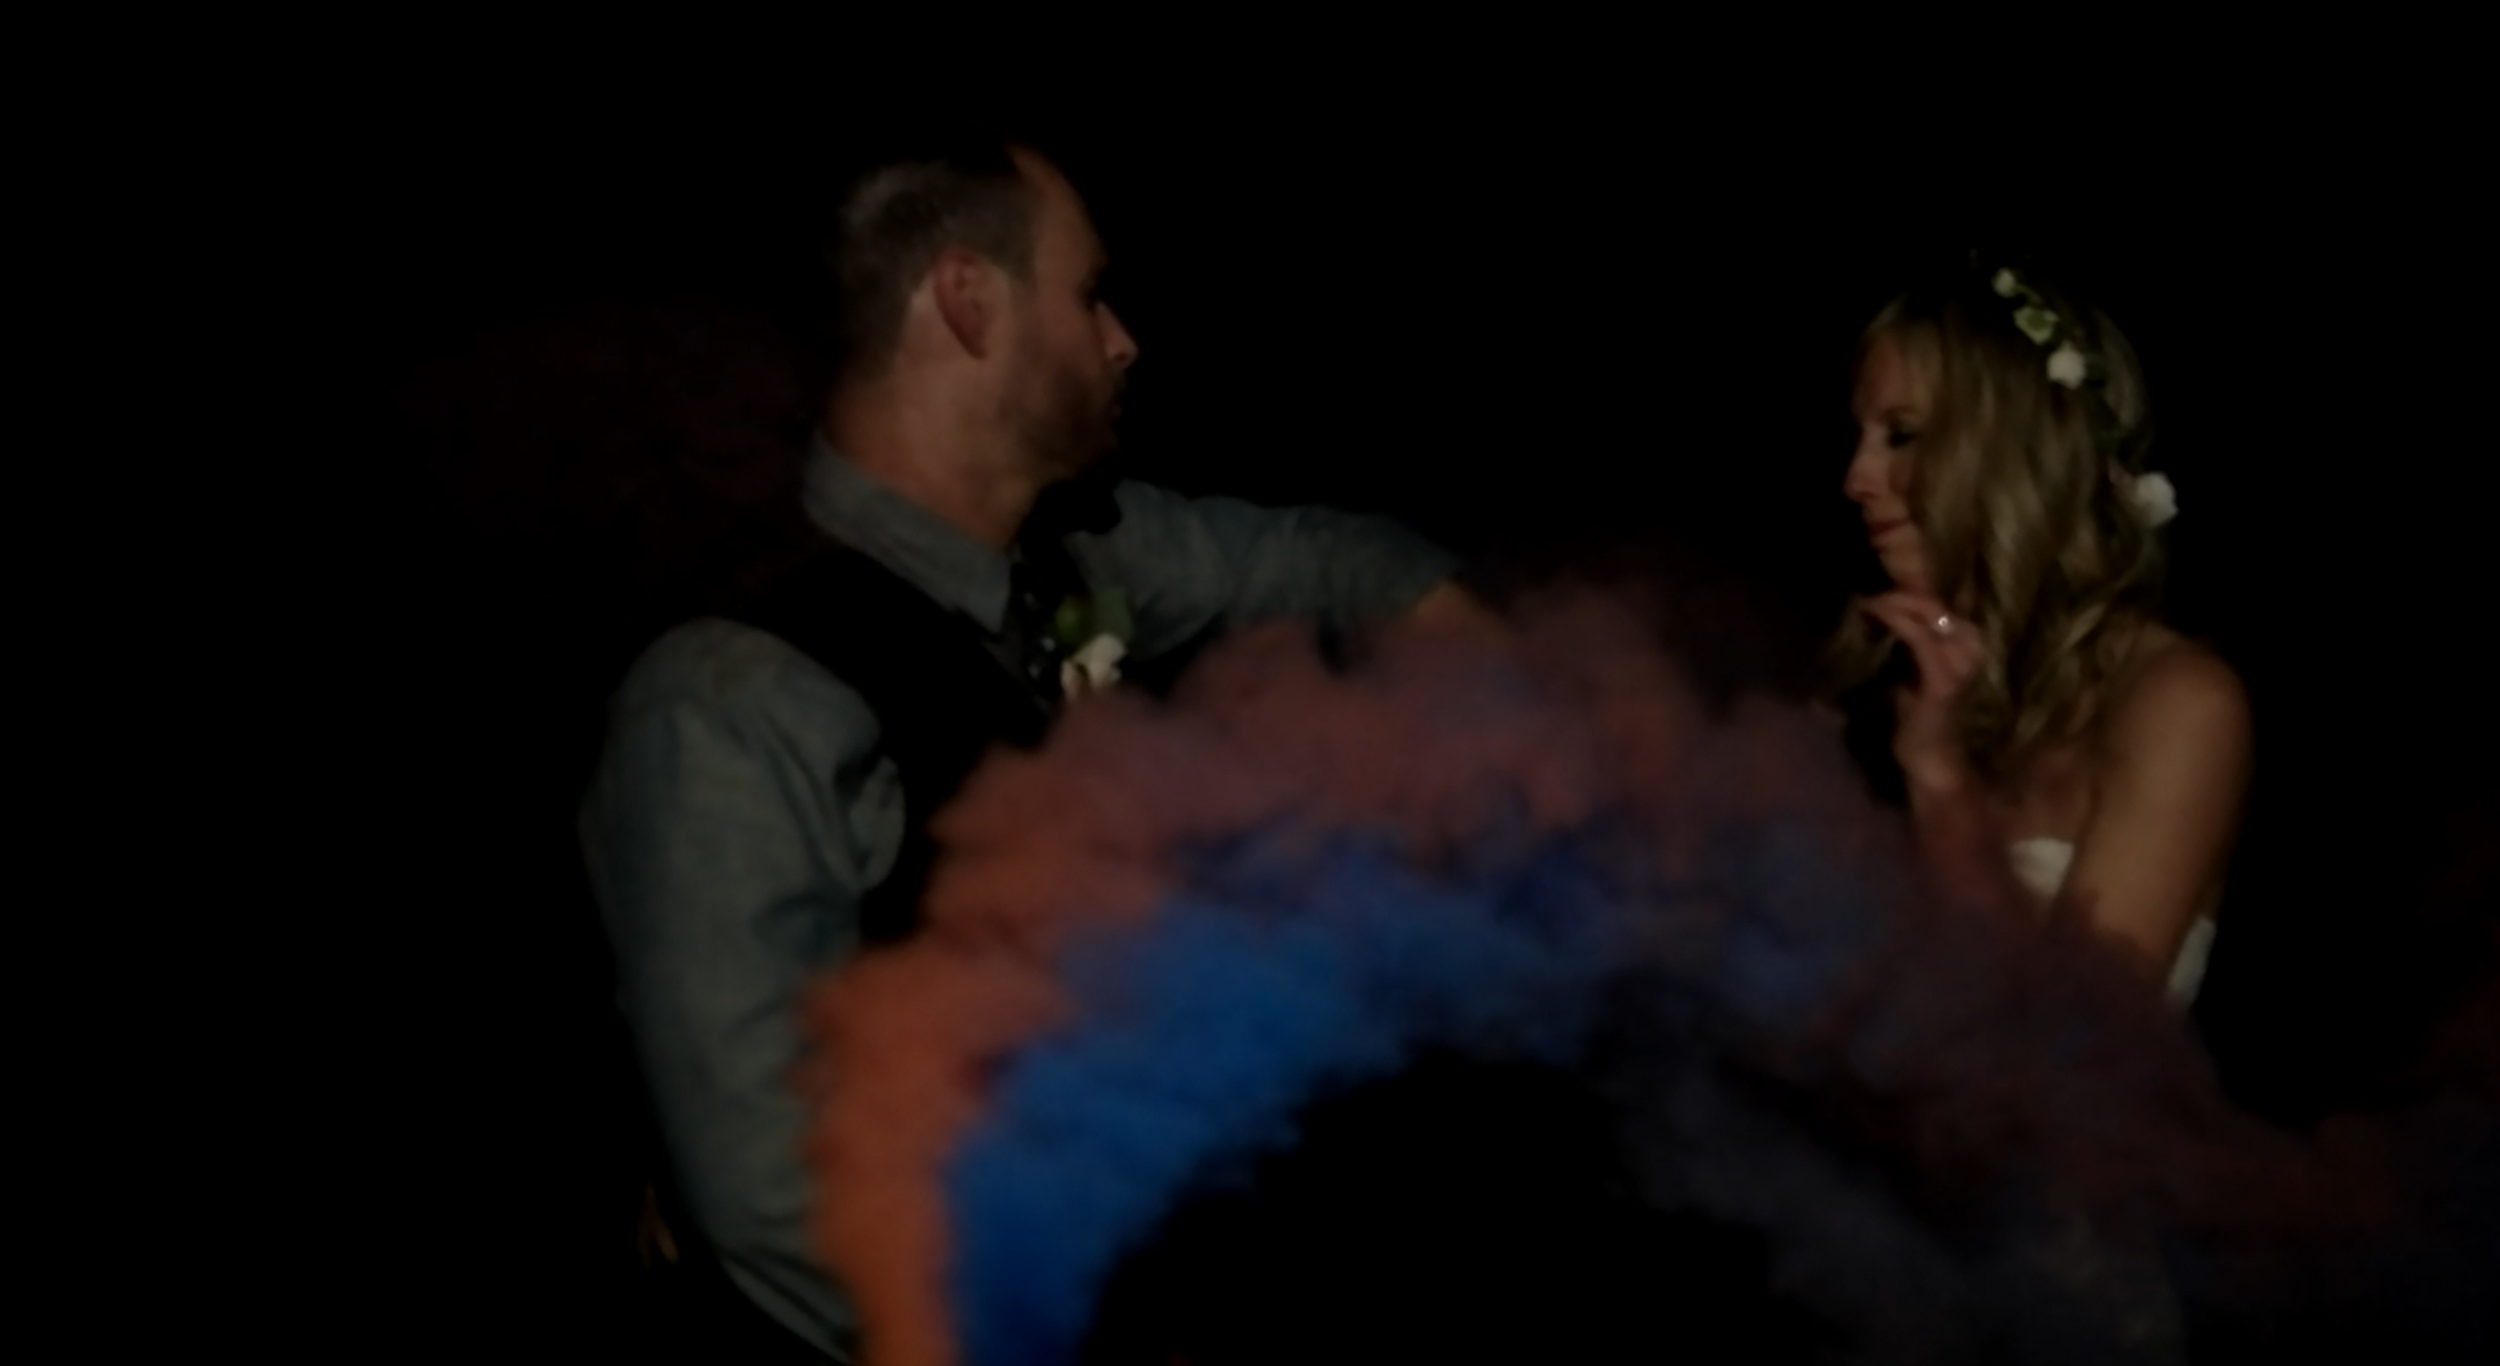
We did have one fail because we decided to light from the front and it turned out terrible. We lit two smoke bombs at the same time, red and blue to try and get purple, but in the end, we almost killed Alyssa and Stephen with smoke inhalation. If you're going to try this, make sure you just do one at a time and light it from the back. It looks way cooler.
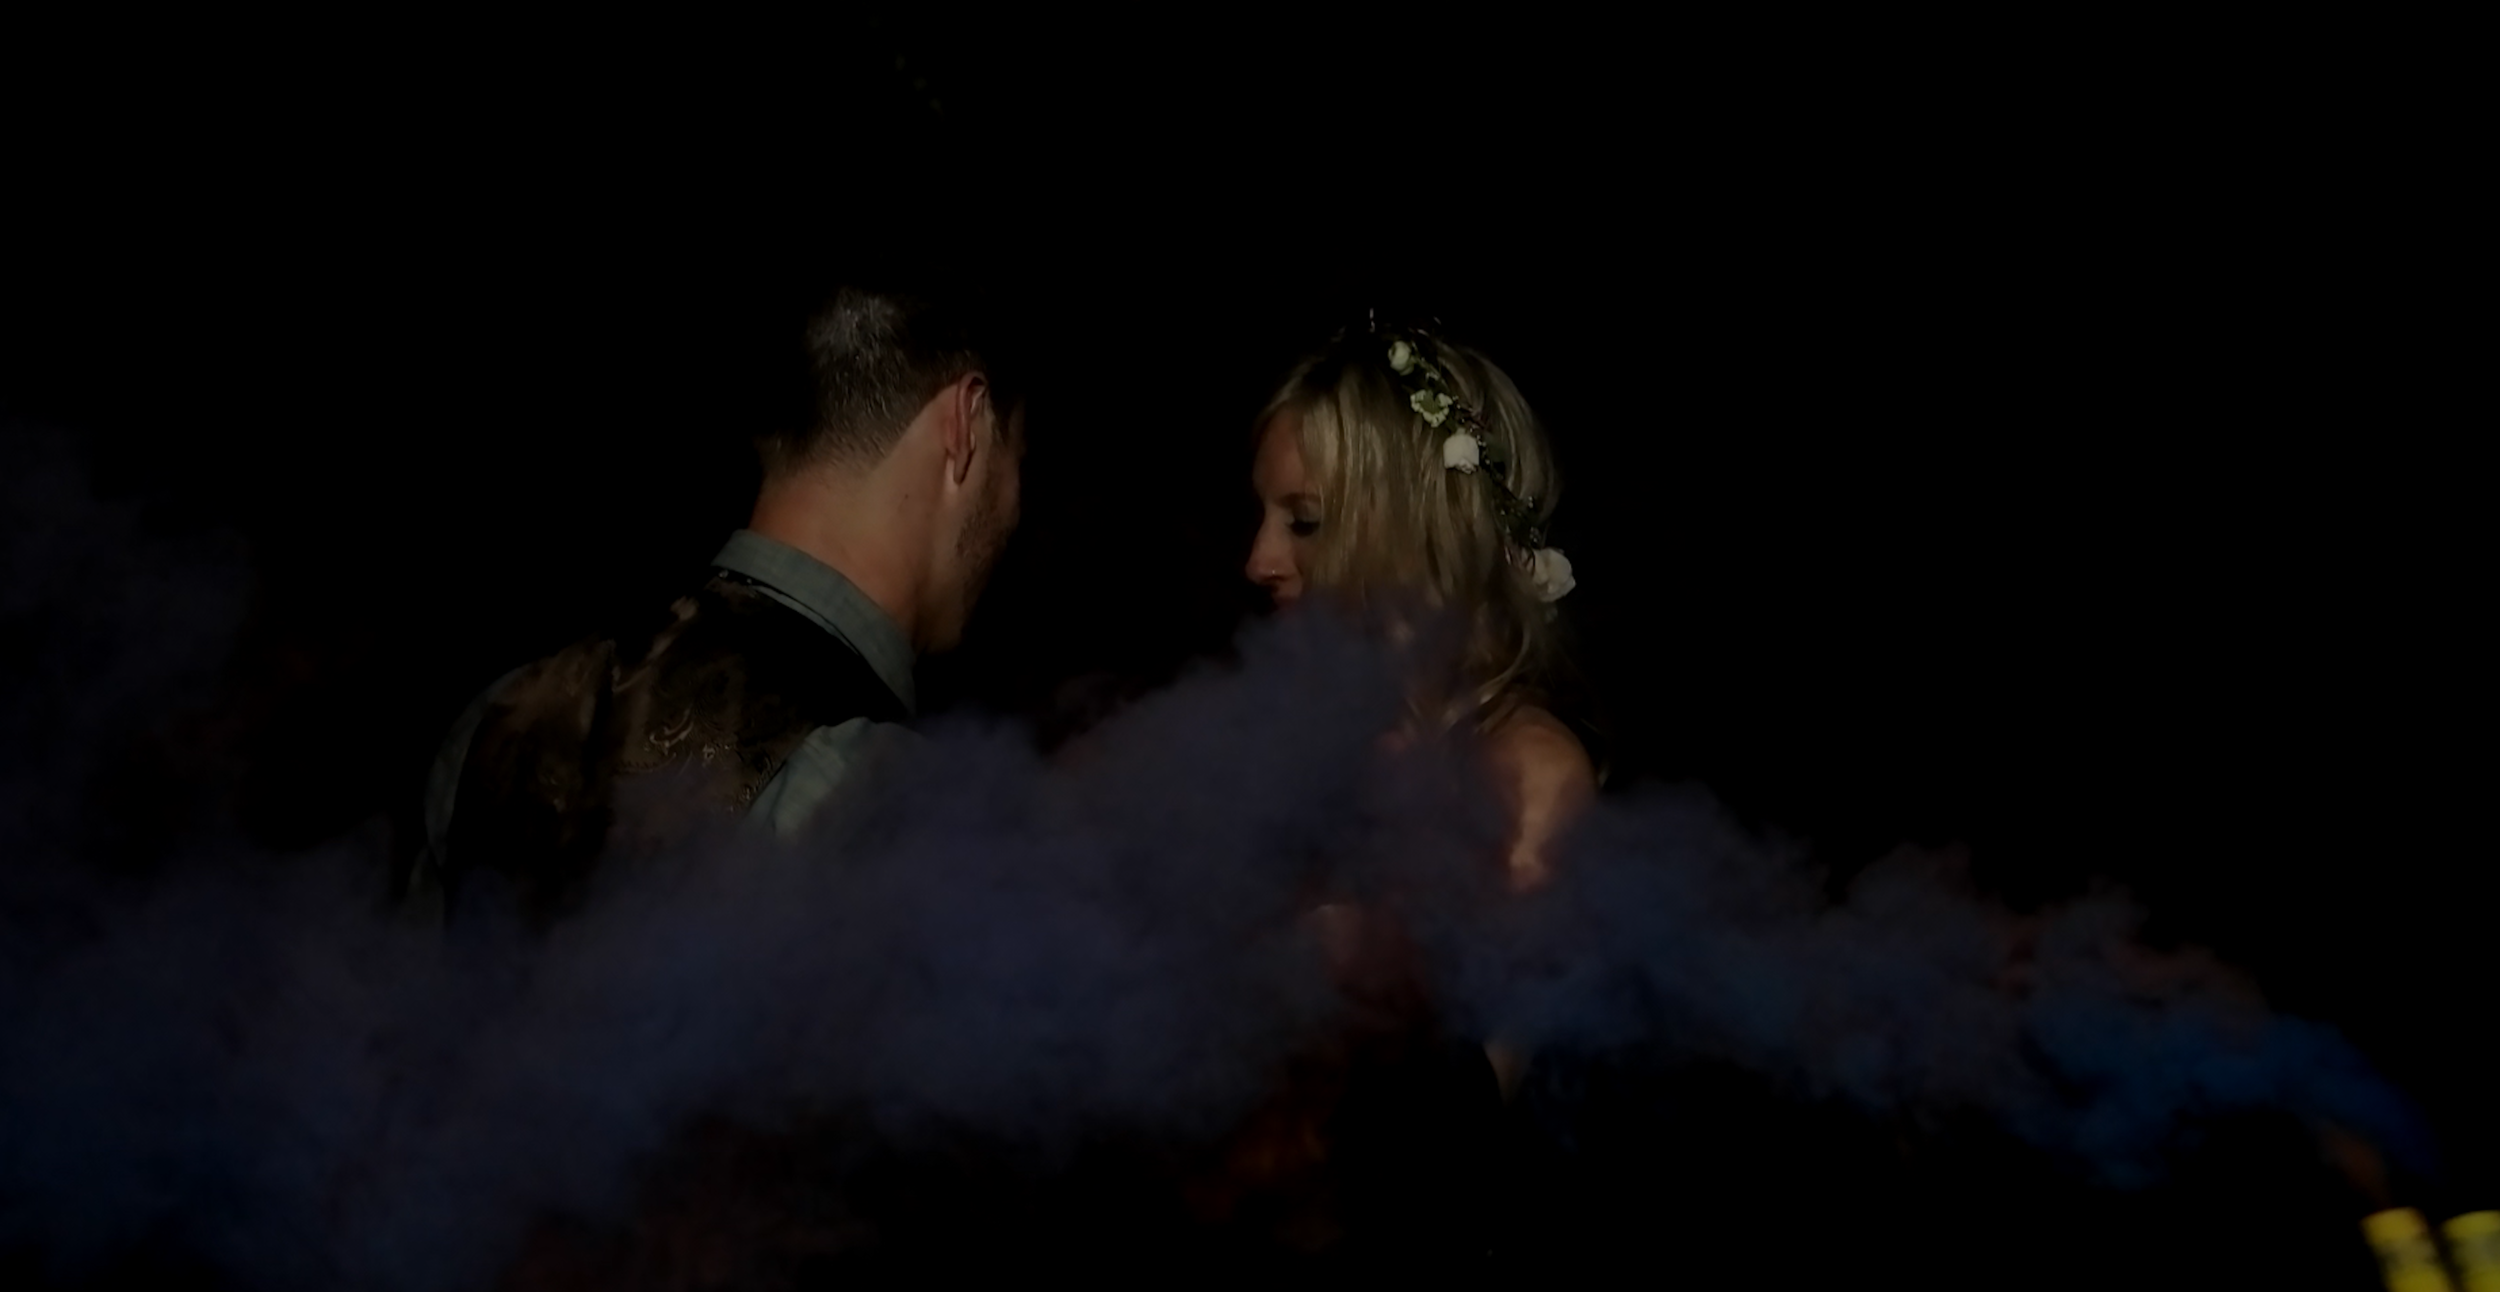
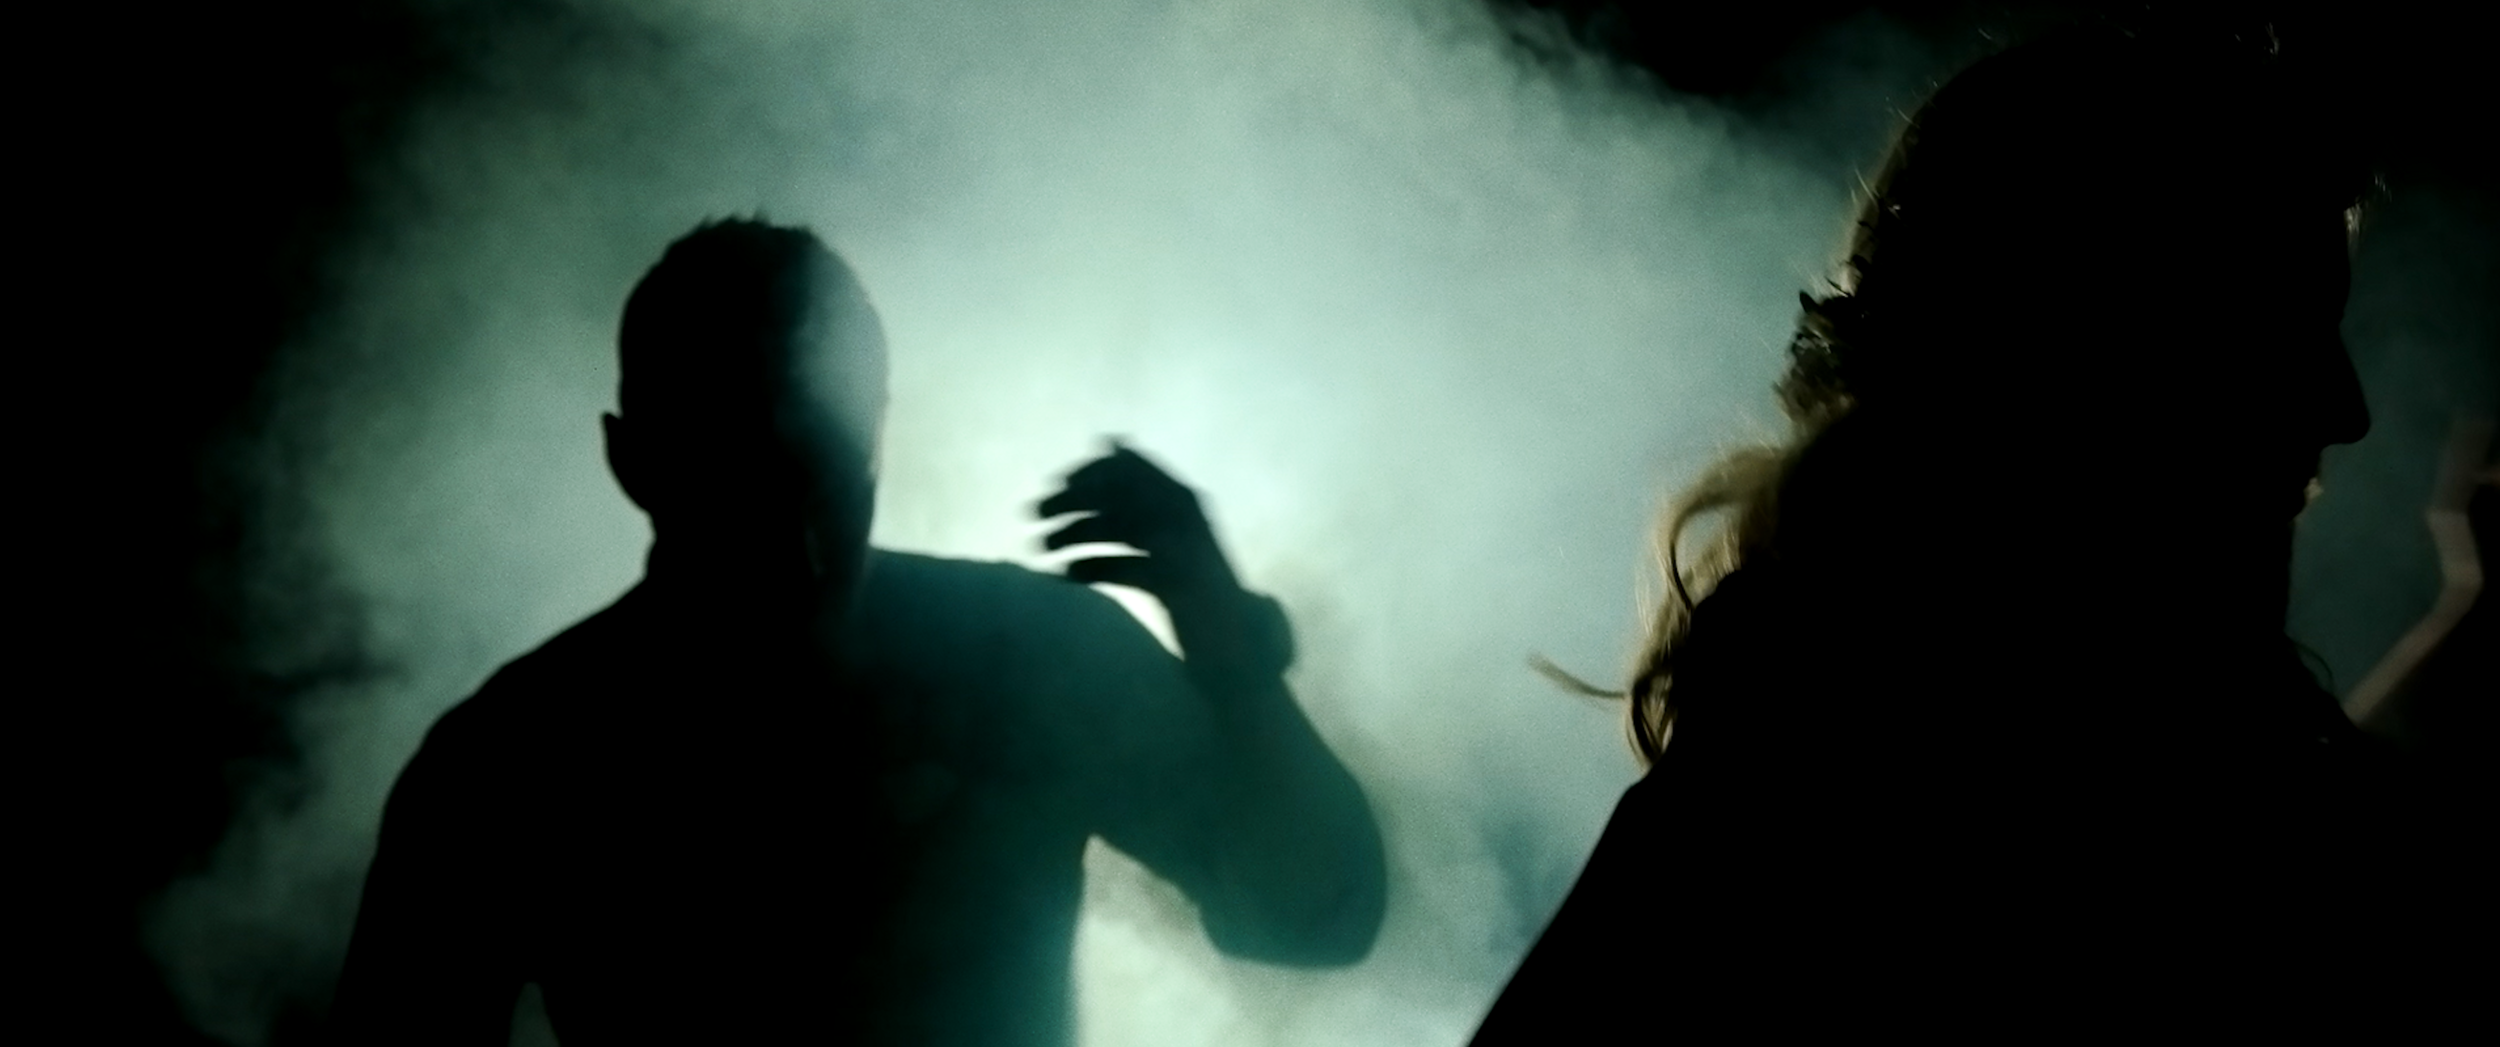
The last idea we used came into play during post production. We decided that it would look like a bigger production if we overlaid some light leaks to make the smoke/light look like there were different colors. In fact, we did have multi-colored smoke bombs, but they didn't show up well when we looked at the footage. We put the light leaks on top of the footage and used the blending option "overlay," and then played around with the opacity for each clip. Here is an example of the before and after of the effect. The top image is before and the bottom is after. We thought it looked a lot cooler with different light leaks (you can find a free download of the leaks here).
We hope you enjoyed this small tutorial/explaination of us having fun with smoke bombs and light! Below you can find links to the finished wedding, camera we used, smoke bombs we ordered, editing software, and the light we used.
- Camera: Samsung NX1
- Smoke Bombs: Smoke Grenade
- Light: Stella 1000
- Editing Software: Adobe Premiere Pro
- Alyssa and Stephen's Highlight Video